For some time now, the use of Context has been popular to solve the problem of sharing global status within a complex hierarchy of components on a page or part of a page, and avoiding prop-drilling.
Although it is not recommended to use Context for complex situations involving multiple status, as it can involve multiple renderings on the child subscribers (see Sebastian Markbage, from the React development team), it can sometimes be more productive and lighter than other solutions, such as Redux.
The biggest problem comes when our functionality starts to grow and, with it, our context. To cover the new requirements, we start adding more states and logic inside it, and in the end we have a file with too many lines of code, difficult to read and maintain if we don’t design our context to support this growth.
In this article I share with you a design proposal to keep contexts scalable, maintainable and testable. By means of a practical example we will show how to implement it, assuming you are familiar with its use.
Suppose we want to implement a view with a list of customers, which will allow us to select a customer and display its information in another component. Something like this:
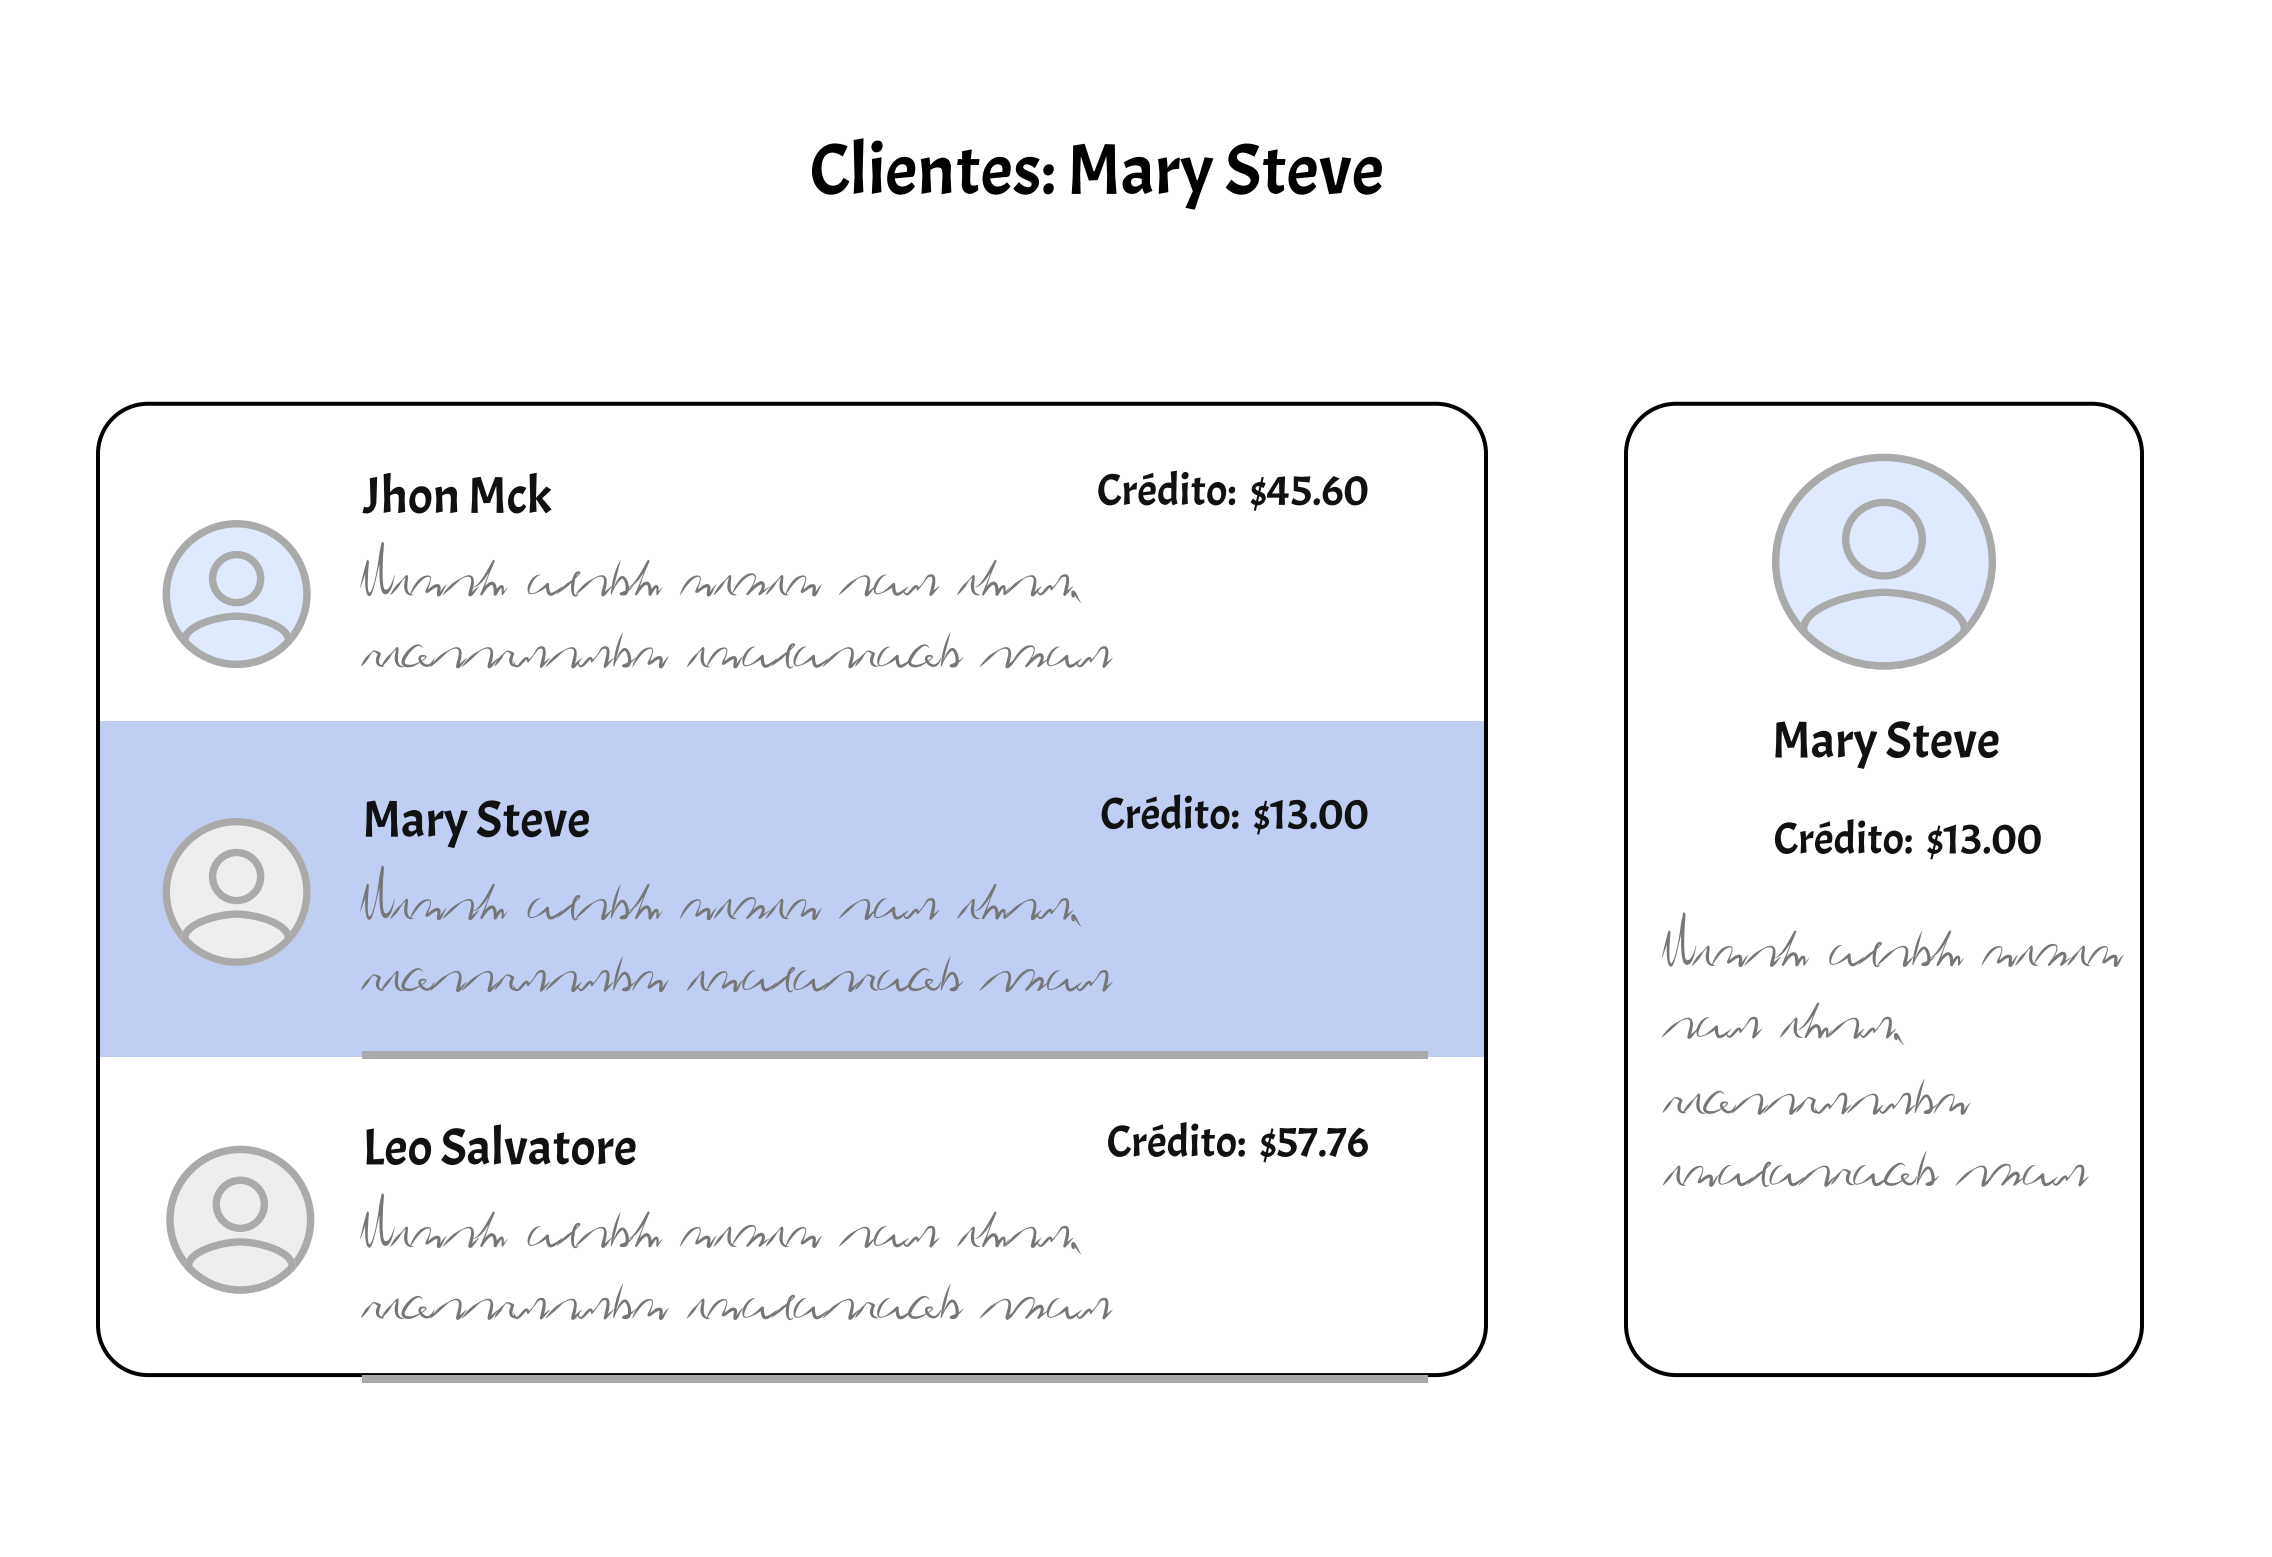
We can identify at least three components that also require knowledge of the selected customer: CustomerList, CustomerCard and PageHeader. To share the selected customer as a global status, we create a context (note that there may be other solutions, but we will use a context to meet the objective of the article). Let’s start.
Context statement, structure and organization
Generally, within our project we will have a folder in which we implement our contexts. It is a good practice, also, to have the context as close as possible to the business entities where it will be applied. We could have a folder structure like this:
src/
  Customer/
       contexts/
            CustomerContext/
                       index.js
As you can see, our CustomerContext is a folder, not a file (CustomerContext.js). This is where the proposed design begins. The declaration of our context will be in the index.js file (we will explain why next). In this file we will declare the Context with its Provider and status:
// CustomerContext/index.js
import React, { createContext, useContext, useReducer } from 'react';
import {  reducer } from './reducer';

const initialState = {
  selectedCustomer: null
};

export const CustomerContext = createContext({
  state: initialState,
  dispatch: () => null,
});

export const CustomerProvider = ({ children }) => {
  const [state, dispatch] = useReducer(reducer, initialState);

  return (
    <CustomerContext.Provider
      value={{
        state,
        dispatch,
      }}
    >
      {children}
    </CustomerContext.Provider>
  );
};

export const useCustomerContext = () => {
  const context = useContext(CustomerContext);
  if (!context) {
    throw new Error('CustomerContext must be used within a CustomerContextProvider');
  }
  return context;
};
In index.js we will only have that, the creation of the Context (CustomerContext) and the declaration of its status (SelectedCustomer). The only reason I would change this file, would be to add a new status.
Also, no logic should be included in this file.
You probably guessed our next proposal: the use of useReducer, not the traditional useState, for state management.
You may also be interested in : Cuban Observatory of Economic Sciences, developed with Reactjs
Using useReducer for state management
It is not the purpose of this tutorial to describe the advantages of useReducer over useState in complex state management. You can find several articles on the subject. We recommend the following:
However, we will talk about one advantage of the reducer function: it can be decoupled. As a function at last, we can create it in a file and import it into our context, as we do in line #2. Then, we use it in #14 of the code above.
In addition, it can be easily tested by unit testing, as we would test any function.
So, our context would look like this:
CustomerContext/
    index.js
    reducer.js
The implementation of the reducer function is as follows:
// CustomerContext/reducer.js
export const reducer = (state, {type, payload}) => {
  switch (type) {
    case 'SELECT_CUSTOMER':
      return {
        ...state,
        selectedCustomer: payload
      };
    case 'DESELECT_CUSTOMER':
      return {
        ...state,
        selectedCustomer: null
      };
    default:
      return state;
  }
};
Each action modifies the state, and the same action could modify several state variables (another advantage of useReducer). The scaling of the reducer would be caused by new actions introduced.
State update, dispatchers
We already have our context, the state and our reducer function, which generates the states by an action. Now we must create the mechanism to update the state of the context; that is, our SelectedCustomer variable.
In our context implementation (index.js), we export the state (line #18) and create the hook useCustomerContext so that subscribers can consume it this way:
// App.js
import './App.css';
import { CustomerProvider } from "./Cusmoter/contexts/CustomerContext";
import CustomerList from "./Cusmoter/containers/CustomerList";

function App() {
  return (
    <CustomerProvider>
      <Page className="App">
        <PageHeader />
        <CustomerList />
        <CustomerCard />
      </Page>
    </CustomerProvider>
  );
}

export default App;
CustomerList component consuming the state of the Context:
In addition to exporting the state, the context hook (useCustomerContext) uses the dispatch method (see useReducer), which is responsible for sending the actions and parameters to the reducer to update the state.
When exporting, we can create our modifier functions or dispatchers as decoupled functions. In this case, they would be hooks to be able to use the hook of the context and, in addition, to use it in our child components.
Let’s create the hook that allows to update the selected customer (selectedCustomer), and let’s call it useSelectCustomer.
We can use the following structure:
CustomerContext/
    dispatchers/
        useSelectCustomer.js
    index.js
    reducer.js
// CustomerContext/dispatchers/useSelectCustomer.js
import { useCustomerContext } from "../index";

export const useSelectCustomer = () => {
  const { dispatch } = useCustomerContext();

  return (customer) => {
    dispatch({
      type: 'SELECT_CUSTOMER',
      payload: customer,
    });
  };
};
Notice how we use the dispatch method of our context so that the hook returns a function that allows us to update our state by sending the ‘SELECT_CUSTOMER’ action with its payload. In our subscribed components we can use it like this:
import React from 'react';
import { useCustomerContext } from "../../contexts/CustomerContext";
import {useSelectCustomer} from "../../contexts/CustomerContext/dispatchers/useSelectCustomer";

const CustomerList = () => {
  const {state: { selectedCustomer }} = useCustomerContext();
  const selectCustomer = useSelectCustomer();

  return <List onSelect={selectCustomer} selected={selectedCustomer} />;
}

export default CustomerList;
We now have our structure ready and decoupled into several files, each with its very clear function. Our context can now support the new requirements without becoming an unmanageable headache.
The new states are placed in CustomerContext/index.js. The logic that updates the state we create in separate hooks inside CustomerContext/dispatchers/, as well as their corresponding actions in CustomerContext/reducer.js.
If we want a new requirement to, for example, delete the selected customer, filter or sort the list of customers, it is no longer a problem to create new hooks, statuses and actions for that purpose, no matter how complex they are:
CustomerContext/
    dispatchers/
       useSelectCustomer.js
       useRemoveCustomer.js
       useFilterCustomers.js
       useSortCustomers.js
    index.js
    reducer.js
Conclusions
We achieved a design for our context that can grow with new requirements, without having an unreadable context overloaded with lines of code. In addition, each piece of code is easy to find, and we can test each method without any difficulty.
In the second part of the article we will see how our implementation would look like using TypeScript, and we will also see examples of how we can design our unit tests to test each part of the context.